
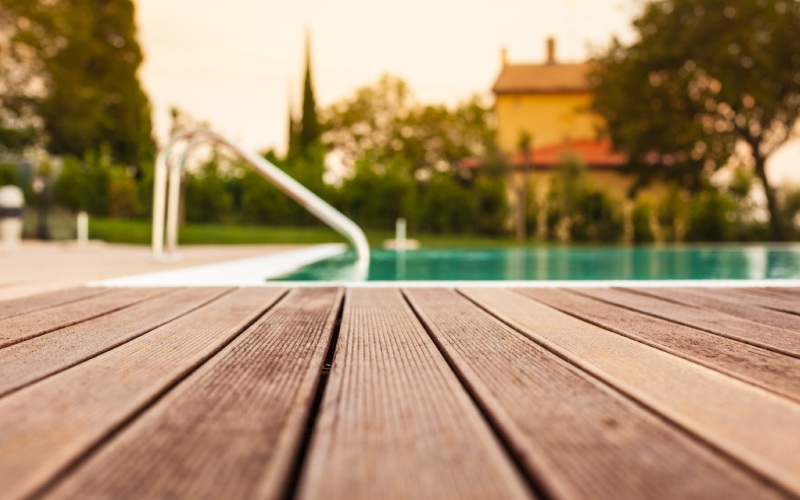
Springs naturally lend themselves to getting outside and enjoying the sun, and this includes your outdoor space where you can entertain, play with the kids or just put your feet up and relax. There’s only one thing better than relaxing on your deck and it’s knowing that you’ve built it yourself! We’re here to help with a guide on how to build a deck.
1. LOCATION
Choose a sunny or part shady location but a wooden deck permanently in the shade may be plagued by damp and green algae growth. A south-facing vista is ideal for a wooden deck. Very wet or boggy conditions should be avoided at all costs.
2. BUILDING REGS
Check with the planning authorities before starting any construction work and keep on best terms with your neighbors by informing them of your intentions.
3. PLANNING
Plan out the deck to scale; easily done using squared paper, bearing in mind the standard size of deck boards that you intend to use. A carefully designed wooden deck will limit the wastage both of boards and bearers.
4. EXCESS WATER
The rain will stay mainly on your deck if you don’t construct it with a slope of approximately 1:80. Ensure also that the fluted boards face in the direction of the water run-off. This has the advantage of making the deck less slippery and therefore less prone to the buildup of algae.
TOP TIP 5 – FOUNDATIONS
Use an old, unsightly concrete base or patio as a foundation; there is no need to remove it. On soft ground, make a simple foundation using paving slabs. Check to see that existing cabling and pipework below ground won’t be disturbed or damaged. Ensure that its level in all directions with a spirit level but if it’s not…
6. LEVELING THE BEARERS
Level the bearers with small offcuts of treated timber.
TOP TIP 7– CONSTRUCTION
Use a tape measure, square and hand saw to accurately cut the boards to length. Alternatively, use a cross-cut “T square and miter saw to prepare them to the correct sizes. To prevent splinters, handle the timber with heavy duty gloves. Make sure that the material is adequately supported when it’s cut to length. Check the diagonals of the frame with a tape measure; if it’s square, they will be equal. Paint all the cut ends with a proprietary preservative or protector.
TOP TIP 8 – FIXING
Be sure to use screws which are suitable for exterior use and pre-drill the screw locations with a small bit to prevent splitting at the ends. Use a Torx T25 bit in the drill to insert the screws. Use a small off cut to ensure that there’s an even space between each decking board.