
When you install a wood fence, you increase your home’s curb appeal, add security and privacy, and create a boundary between you and your neighbor. Then, with suitable materials, you can start a fence installation project.
Here we will tell you how to build a fence and customize it according to your needs.
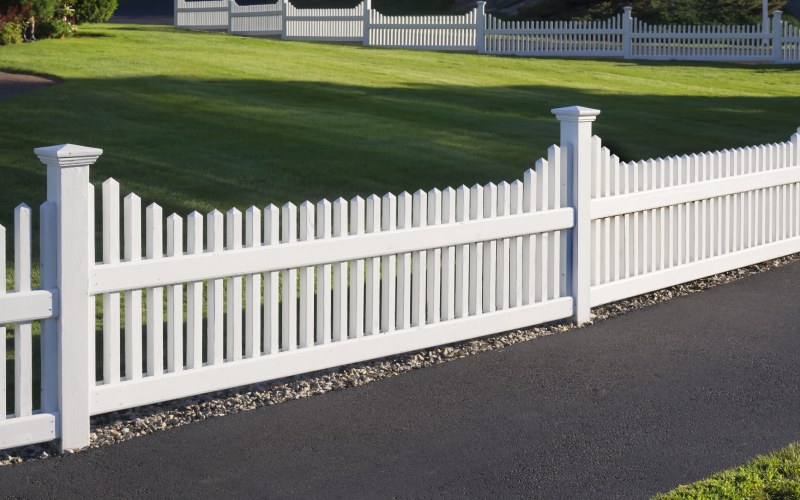
1. Flat Wooden Fence
Discuss she fence with your neighbor. Some communities require written permission from all affected neighbors.
2. Mark Site For Buried Services
Could you call your local utility locator hotline? Technicians visit your property and mark buried utilities (water, electricity, gas, and more) with washable spray paint.
3. Get Permission
In many communities, building permits are required before installing your wood fence. Therefore, awareness of height restrictions and property line setbacks is essential. In some areas, a property inspection may be required to determine the affected property lines before a permit can be given.
4. Stake Out The Location Of The Fence
Strike two wooden stakes 34 feet apart with the hammer. Then bury the stakes deeply to strengthen them since you need to feed the stake string and keep it taut. Your fence will follow this line. Note that the mint posts are aligned. Put stakes at the ends of the fence, and with a framing square in the corner, you can get a perfect right angle. Please place stakes every 8 feet between them, and if you need to adjust the length of the fence as needed, this makes sure that the posts can be set in 8-foot lengths.
5. Dig The First Post Hole
Start at one end by digging a hole for the fence post with the bulldozer. Next, drill the gap to the depth established by the community. In the absence of local requirements, a general rule of thumb is to explore a spot half the length of the post and three times the width of the bar. Place a post in the hole temporarily. Measure 8 feet from the side of this post and follow the string to the hole location.
6. Dig All Other Post Holes
The second hole should be dug so that its post is exactly 8 feet from the first post if measured from side to side. Dig to the required depth. Continue as follows until all five post holes have been dug.
7. Add Base Fill
Extend the tape measure into the post hole. Add gravel in the spot while the tape is still there; when the stone reaches about 4 inches, remove the tape. Use one of the four to tamp down the gravel and smooth it. Move to the next hole until all five spots are finished.
8. Put Up Fence Panels
With a helper, lift and place a fence panel between the posts. Add blocking under the fence panel to raise it to
the desired height. Remember that both sides of the panels touch the studs but are not so tight that they separate them.
9. Dyeing And Finishing
Staining is optional when using cedar posts and fence panels, as they provide natural protection from the elements. If you want to stain and finish your fence, please do so by troweling or brushing the compounds onto your wall. Finally, if you use pressure-treated or green-treated lumber, allow plenty of drying time before staining your new fence.