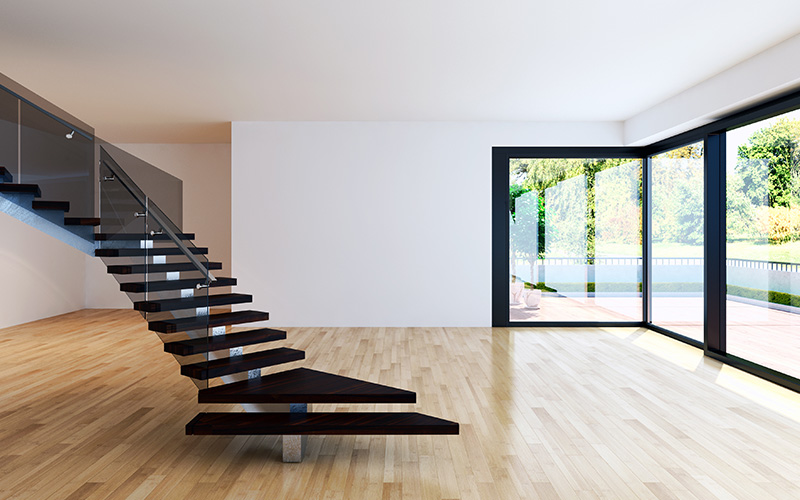
Maple flooring has had a major resurgence since white floors lost popularity in the early 1990s. Because of its clean, light appearance that is easy to decorate around, maple has become the flooring of choice when a light design is required. Along with maple strip flooring, more maple plank is being installed, and in areas where maple was not prevalent in the past. Areas with high relative humidity, such as Florida, are seeing maple plank gain popularity. This can create concerns for installers because of the relative instability of wide maple flooring. Fortunately, with climate control more widespread than ever before, these issues have been minimized to some extent.
Of greater concern to many kinds of wood, floor finishers are the difficulties that can and do arise when sanding and finishing maple. These can include sandpaper lines, abrasive selection, screen or swirl marks, wavy grain appearance, stains not taking uniformly, debris in the finish between coat abrasion, and uneven sheens in low sheen finishes. Understanding how some of these issues create problems can save you time and money.
Abrasives
One secret to sanding maple to a smooth, level finish is to start with an abrasive grade that will take down over wood at the side-match and level butting end joints. Inexperienced floor sanders attempt rough-sanding with a grade of the paper too fine to effectively flatten the floor and remove the over wood. This comes from either trying to avoid an extra sanding or a fear of being too aggressive. That extra sanding may be the key to a good job.
As when sanding any floor, never skip more than one grade of paper. When trying to save a sanding step, the lines from the previous sandpaper grade always shows up in the final finish coat. Sanding finer than 100 grit and/or fine screening closes the already tight grain of maple so much that the finish coats tend to show a washboard effect. This effect does not show up until the third or fourth coat is applied, and it is difficult to hide. This is the same as the grainy, hungry look that appears on oak, but since the maple grain is tighter, it shows as a washboard or wavy look. The deeper the seal coat penetrates and the longer it is allowed to dry before abrading, the flatter and more level the floor will look.
Sanding
When fine sanding maple floors, always reduce drum pressure to its lowest setting and slow the drum speed if your machine allows for it. Avoid sanding maple too smooth. Depending on the finish being applied, anything finer than 100 grit may be too smooth — always consult the finish manufacturer’s directions.
Check that wheels are clean and free of debris, inspect drive and fan belts for splits or cracks, and check pulleys for chips. Keeping equipment in good working condition and paying attention to how paper is loaded can go a long way to eliminating wave and chatter. On belt machines, keep the upper roller assembly clean.
Cleaning
Debris in the finish coats accounts for many complaints when finishing maple. Again, the density of the wood and the light color tend to show even the slightest amount of dirt or dust. Thoroughly vacuum not only the floor but all baseboards, window sills, and any adjoining areas. Then vacuum the floor a second time. This step pays dividends. Create a clean area adjacent to your work area and clean your shoes, pants, and knee pads before the application of any finish coats. Many finishers keep a pair of smooth-soled shoes for finishing only, while others will wear “booties.”
Staining
Staining maple is generally not recommended by finish manufacturers since the dense grain does not allow the penetration of most pigments. Dyes work better but limit the colors available. Maple is a difficult wood on which to achieve uniform stain, and the appearance can look as if the stain was not applied evenly. If your screen before staining, be aware that the screen marks will show in any dark stain color. Educate customers about the difficulties involved in the staining of maple so they are warned of possible appearance issues.
Show the customer a variety of wood tone stains reduced with neutral stain. By using wood-tone stains mixed with neutral or clear stains, screen marks will be less noticeable and the stain will appear to be more uniform. Should the customer expect a darker, more uniform color, there are two other procedures that can be used. The first is to sand the floor with 100 grit on the drum machine and the edger, and then hand sand the edges with the grain with 80grit sandpaper. The second is to screen and then “pop the grain” with water and allow it to dry overnight before staining.
Application tools
The correct finish application tools to use when finishing a maple floor are the ones that you are the most comfortable with. Since maple floors can be touchy to finish, it is never a good idea to try anew or different application tool. Whether you use a brush, roller, lambswool, or T-bar, the key to a good finish job is an even, uniform coating. It is important to feather any tool if applying a low-sheen finish. The T-bar type waterborne applicator has become popular with almost every type of finish and is a fast way to get a uniform coating.

