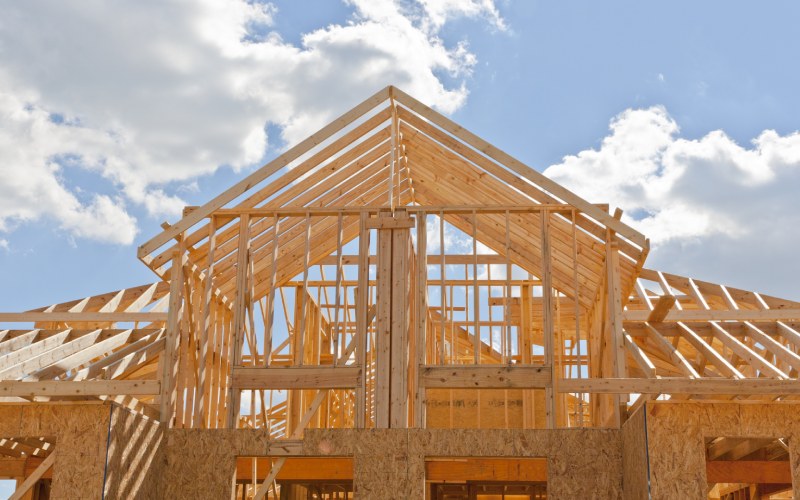
The challenge in residential wood-frame construction is to construct dwellings that are not only strong and resistant to the forces of nature, but also dwellings which are more energy efficient than in the past. Add to the mix increasingly stringent design parameters with ever changing energy conservation requirements and the challenge can become difficult. One means to overcome these challenges begins with the framing design which results in an energy efficient structure without relying as heavily on the addition of energy upgrades.
WHY IS ADVANCED FRAMING IMPORTANT?
Advanced framing reduces the amount of structural components, typically wood, needed to construct a home. In the building science world, the sum of the structural components in a wall assembly is referred to as the framing factor. The fewer structural components in a given wall assembly, the lower the framing factor and the more room there is for insulation. If you can’t tell where we’re going with this, the more insulation a home has, the better the home performs and the more comfortable it is for residents. A typical home without advanced framing has a framing factor of roughly 0.25, meaning that 25% of the wall is composed of non-insulating material such as wood studs. By implementing advanced framing practices, builders can reduce the framing factor by as much as 10%.
Benefits include higher R values in building assemblies, better HERS scores, and larger utility incentives. As a matter of fact, these techniques result in tangible benefits for builders as well with reduced lumber cost and quicker installation due to fewer framing components. At a time when tariffs and labor shortages are shaking the industry, this can be increasingly important! By combining the benefits of high quality insulation and advanced framing, homeowners are able to enjoy a more comfortable and higher performing home while builders insulate their margins from reduced lumber and labor costs.
There are numerous advanced framing techniques, such as:
Reducing double top plates to single for non-load bearing walls.
Switching from 2X4 and 16 inches on center framing to 2X6 and 24 inches on center framing.
Eliminating jack studs, cripple studs, and even headers for non-load bearing walls.
While these are all great strategies, this post focuses on THREE primary techniques; insulated wall corners, insulated headers, and insulated wall intersections.
INSULATED CORNERS
Traditionally, the intersection of exterior walls were framed either solid or with a dead air space that cannot be insulated. As a result, this has developed the nickname “cold corner” due to its lack of insulation. The best practice alternative is commonly referred to as a 3 stud, or “California” corner. This simply re-organizes the stud layout to maximize the insulated area, leaving a pocket for insulation to fill the corner. Alternately, a 2-stud corner can also be used to the same effect by using drywall clips or a nailing edge in place of the third stud.
INSULATED HEADERS
Many times the correct header size is not calculated and may be oversized, meaning they represent a large portion of the home’s uninsulated wall area. Even worse, headers either have an uninsulated air gap or a piece of nonstructural OSB in between in order for the header to equal the width of the wall assembly. While we certainly encourage builders to have their engineers properly size the headers, at a minimum the OSB or air gap should be replaced with a section of extruded polystyrene foam board (XPS), or blue board, although other insulation materials may be acceptable. The insulation can also be installed on the interior or exterior side of the header.

