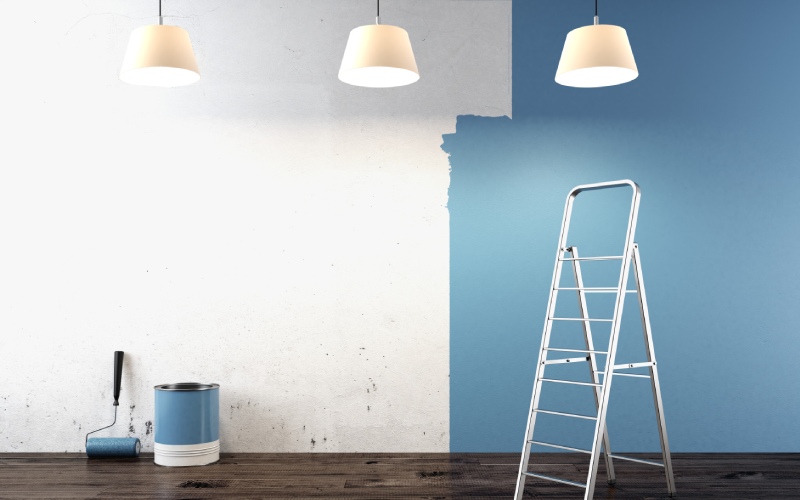
Strong has spent many years with both professional painters and serious DIY painters, observing them and answering many questions. We have compiled the following painting tips and techniques to help meet your needs. However, please feel free to contact us directly with your individual question.
Prep-work saves you time
It seems like a pain to go and tape all the trim, get the floor all covered with tarps, and all that, but I guarantee you, painting without always panicking about drips, spills, and more, makes it that much easier to get the job done quickly, not to mention well.
Paint in one direction
On walls, it’s up and down. On tables and such, go lengthwise. When wood’s involved, go with the length of the grain. Consistency makes for a great finish. Sometimes you have to go against the grain to ensure coverage, or go on an angle to travel side to side a bit, but then do a finishing sweep the proper direction afterwards.
Paint barefoot
If you’re painting your home and plan to live life during painting, via going to the bathroom, mixing a drink, watching anything, then be sure to go barefoot so you can feel if you’ve stepped in paint. It’ll come off easily with a wet rag (if you’re using latex) and will be a lot easier to deal with than dealing with the a 20-foot trail of quarter-sized paint splotches on your hardwood floor through to the kitchen you didn’t notice until 15 minutes after the fact.
Slower isn’t better
The slower you paint, the more likely it’ll go on too thick, you won’t move it around enough, and you won’t get back to clean up drips enough. Get that paint on, do quick, full, even strokes, and revisit your work every few minutes to clean the drips that ALL painters will get.
Hot days take longer
It’s a perfect summer image — hot day, painting, good times. But if you’re painting a room in a bolder color that may need 3-4 coats, that humid weather increases drying time between coats. Painting in the winter tends to be quicker indoors because you have dry heat via the heater, and a constant humidity and temperature to get the job done.
Wrap those brushes
Can’t get the job done in a day? Don’t clean the brush, just wrap it in cellophane and stick it in the freezer. This will actually work after a couple weeks, too, if you need to take a trip or live life in between project completion. Simply let it thaw out for an hour or two in a container you don’t mind paint getting on, and back to painting you go. No muss, no fuss.
Extra protection never hurt
Whether you’re wearing bandanas or hats to cover your hair, or throwing old blankets on the sofa for when you want a break, every little bit of paint-proofing you do is time you’ll be happy you spent later.

